
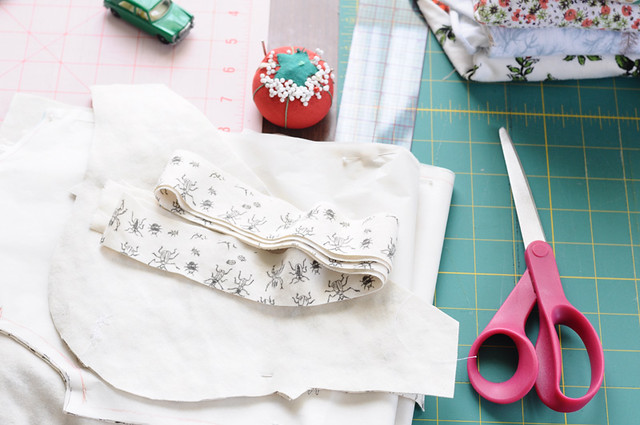
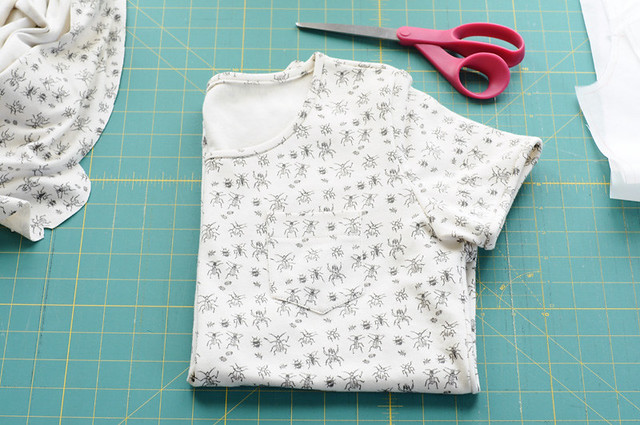
here is one yard of my beetle-bug fabric ready to be pinned and cut. i made sure to position the pattern pieces to all face in the same direction since this fabric design has a definite up & down. (i used #18 from japanese pattern book "check & stripe floral" like my last tee).

everything cut out plus the 1.25" wide strip for the neck and sleeve binding:
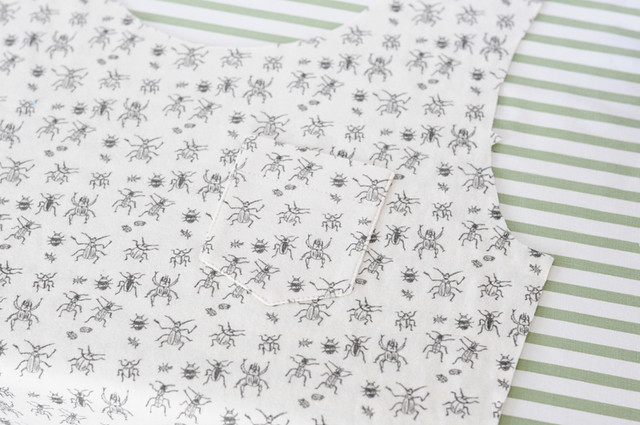
cute pocket:
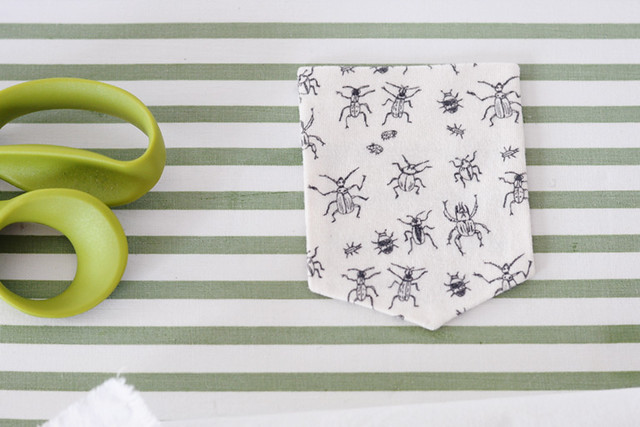
cute pocket carefully sewn on:
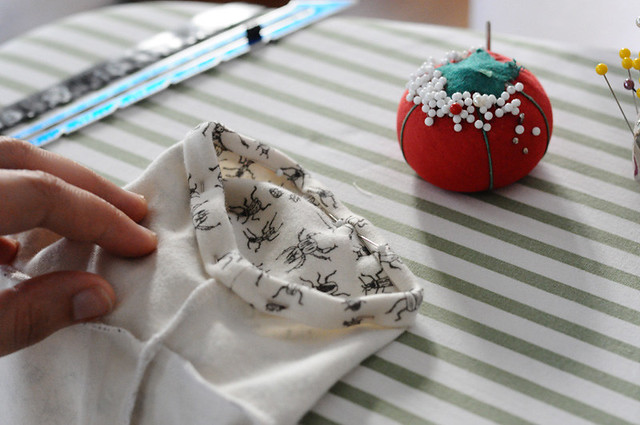
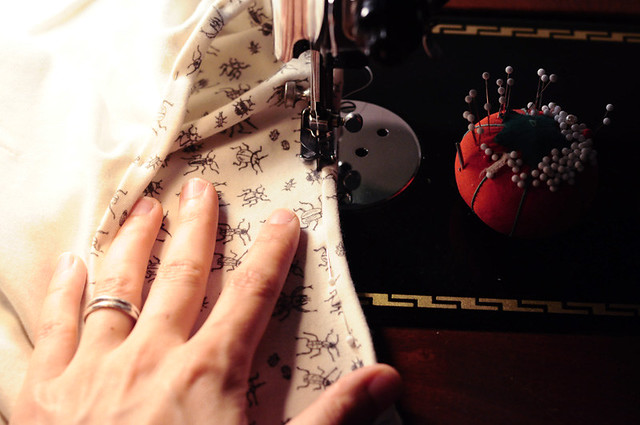
getting ready to sew on the neck binding:

neck binding sewn on. ironing the raw edge to meet the serged edge, which then gets folded over to make a neat and even finish.

same on the sleeves. pinning it in place on the right side.
(getting late). i like to use my "stitch in the ditch" foot to sew super-close to the binding on the right side.
done!
Love this!
ReplyDeleteLove the fabric you designed! You turned it into a very cute tee!
ReplyDeletethanks, sarahjane! i was hoping that all these in-progress shots wouldn't be too boring. :)
ReplyDeletethanks so much!
ReplyDeleteIt's so precious! I'm sure you'll have tons of people asking where you got this one. :)
ReplyDeletethanks, emily! too true. you don't see many tees covered in beetles these days... although, i did see a top made from a ladybug print the other day, but that's totally different. :)
ReplyDelete